So far, I was able to finish all the sewing for this new sweater! I was able to do so by following the sewing instructions from Instructables. I sewn the different components together to the LilyPad using the same numbers as the link, so that I'm able to just follow her code. However, to make sure the conductive thread didn't cross, I switched 4 and 3 though.
 |
| layout |
Since this is my second time around sewing the jacket up, I was a little bit more accurate in sewing up this sweater. I used a piece of white paper to draw a chalk line of a nice perfect 90 degree angle. The ruler was used to specify the spacing between each LED so it'd be evenly done. And the pins were used to hold the LEDs in place. You can see this being done in the pictures below:
 |
| a safety pin was used to hold the paper down to it's desired location |
 |
| all the sewing materials you see at the top left corner (pouch, plastic container, needle holder, pins, thimble, chalk, etc) was bought from the dollar store (except conductive thread of course)! Great place to get supplies. |
 |
| Used pins to hold the LEDs in place... the pins were really big, but I'd try to find smaller ones if I were you. |
 |
| I drew estimated chalk lines to help me sew a path to the Lilypad |
The sewing came up really ugly on the back (I'm new at this, sorry!) because the conductive thread was grey, and so very visible. If I did some more planning ahead of time, I would have probably been able to make some sort of decorative butterfly or something with the sewing! Oh well.
 |
| you can see all the LEDs connected to the Lilypad, and the buttons on the shoulder areas |
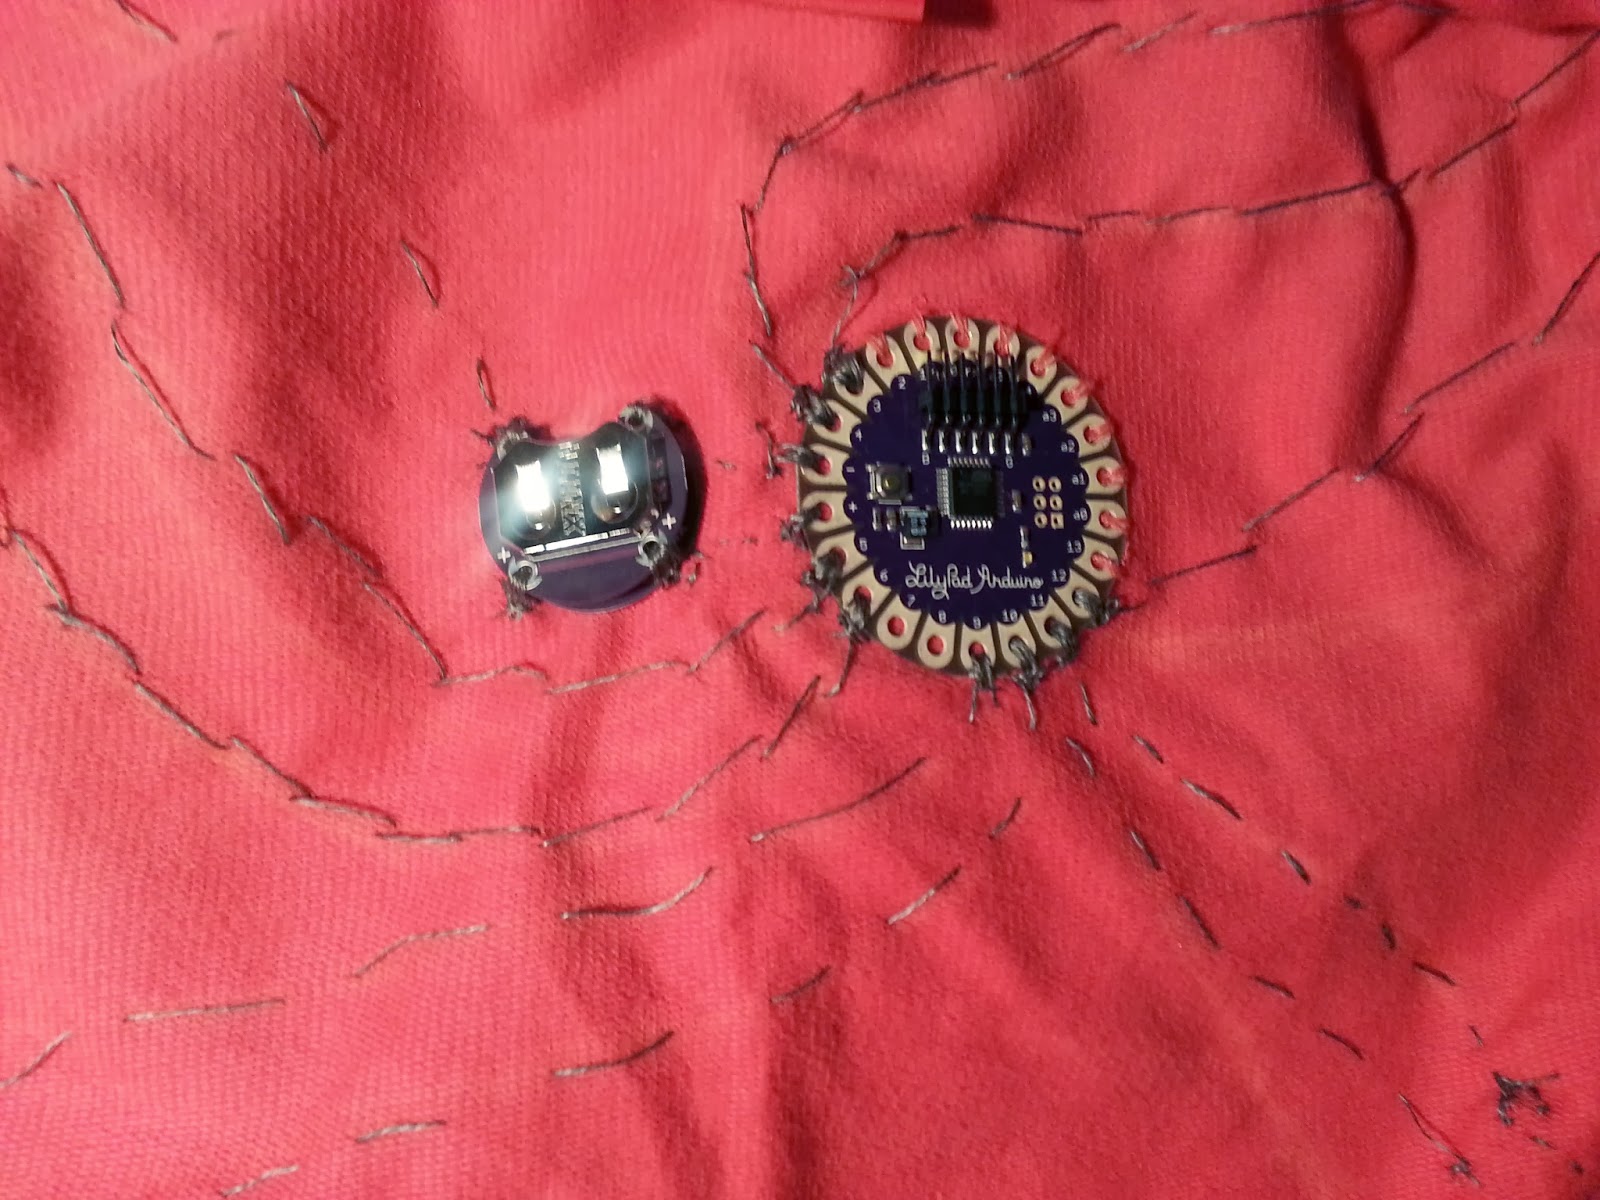 |
| A close up on the Lilypad and battery cell holder |
 |
| A close up of the button and LED on the shoulder |
As we tried to upload the blinking light program for the Lilypad, the lights wouldn't blink! And, Ms. Chipps and I spent the afternoon trying to figure out why.
So far, we're thinking the problem is that the resistance between the battery and Lilypad is too high (greater than 10 ohms), In the instructables link, the author says to add more conductive thread to increase conductivity. And so, my little winter break project is to try to get the LEDs to blink, and possibly look at the code in the instructables and apply it to my own sweater.
To be continued!
No comments:
Post a Comment